
This offer is a bit of a blast from the past. It was originally available back in 2021 for very little before being removed from the rolls.
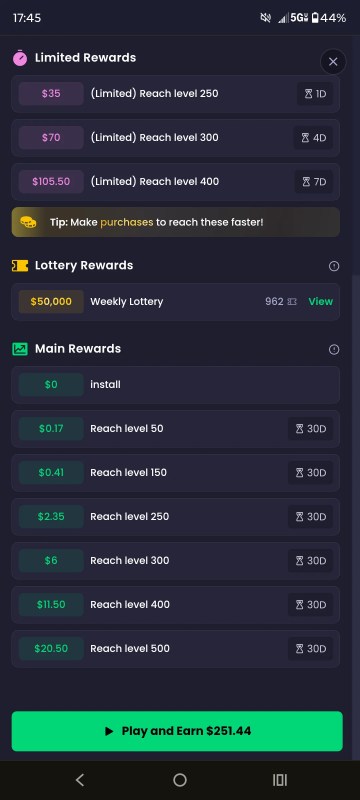
It came back in Nov 2025 at $322.50, then in Jan 2026 it dropped to $251.44. FreeCash has recently upped the offer value to $307.13.
I haven’t seen it on Swagbucks or any of the partner offer walls, but if it becomes available I will add those details here.
Note: Several months ago, a user on the FreeCash and Swagbucks subreddits was scamming players. The account has since been suspended. It was DM scam to get game login credentials.
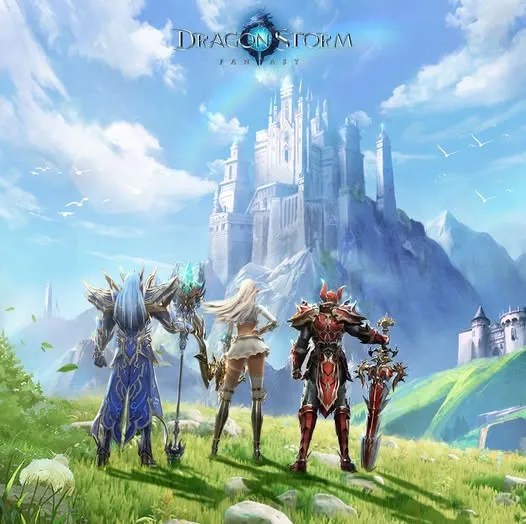
Dragon Storm Fantasy is a mobile MMORPG (iOS/Android) where players become a “Dragonsoul Envoy,” capable of transforming into divine dragons to combat demons and other players in massive cross-server battles.
The title is from GOAT GAMES. Several of their games have been offered for cash rewards including Dungeon Hunter 6, War and Magic, and Kings Throne.
Type: Auto-Battler, Idle RPG
Offer Terms
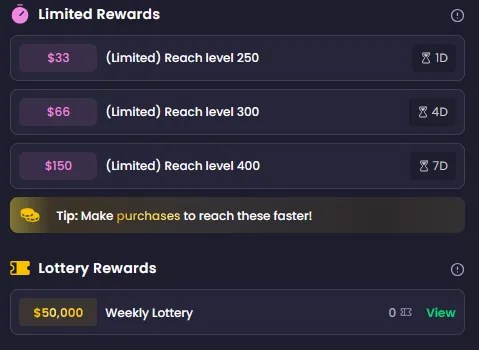
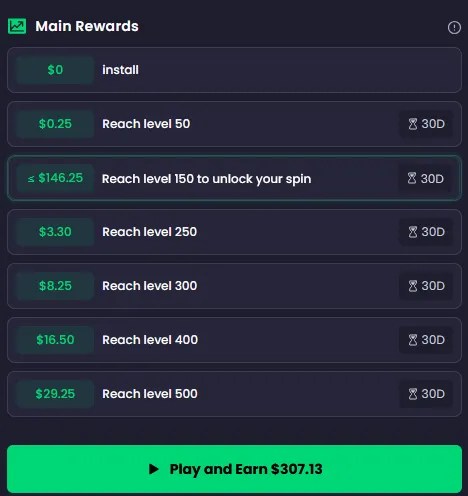
As of March 2026, the game offer is available through FreeCash for $307.13, with set rewards at goal points and some limited time bonus goals.
The time limit is set to 30 days to reach level 500. Bonus goals at day 1 (level 250), day 4 (level 300), day 7 (level 400).
Getting to 100 on the first day is easily achievable, but hitting 250 will take more effort.

Dragon Storm Fantasy Codes
Codes can be redeemed in your settings panel.
Last Checked: Mar 25,2026.
Codes are time sensitive (30 days or less) and are usually released through the official Facebook page.
| Code | Event/Date |
|---|---|
| 4v5d44 | Valid until April 8, 2026 |
| 4ucekt | International Women’s Day – Valid until March 31, 2026 |
| 4V5DF9 | Valentines Day 2026 |
| 4uce6w | New Years 2026 |
| mr4uceen | Christmas 2025 |
Gameplay
Dragon Storm Fantasy (DSF) is almost entirely automatic. Hands off gameplay means you can set your phone down and walk away for a half hour and do something else.
The tutorial will take you through your gear, leveling, and combat using the auto battle system. The game dialog and NPC interactions are also auto play. It’s less of a game and more like an interactive video.
In DSF, the server or world age provides a percentage boost to EXP gain. Selecting or moving to an older world will speed up progression in the game.
After the tutorial, you should be around level 25. In the first day, around 100 levels can be cleared. EXP is earned mostly from completing your daily challenges (tasks) and dungeons.
Once you reach level 250, you can expect the progression to drop to around 12 levels per day.
Workflow for Playing DSF
- Do your Daily Challenges
- Play the Devils Crossing mini-game
- Complete all your Upgrades
- Fight in the Arena
- Escort a couple of Convoys
- Spend all your Stamina in the Campaign
- Raid the highest level unlocked a bunch
Tips
Note: The server reset time is 00:00 UTC, so if you start your offer after that time, you can get close to a full 24 hours of in-game time for leveling to try and hit the first Bonus goal (reach level 250 on Day 1).
Time zone Conversions from 00:00 UTC:
| Time Zone | Abbr. | During Summer (DST) | During Winter (Standard) |
|---|---|---|---|
| Eastern | EST/EDT | 8:00 PM EDT (UTC-4) | 7:00 PM EST (UTC-5) |
| Central | CST/CDT | 7:00 PM CDT (UTC-5) | 6:00 PM CST (UTC-6) |
| Pacific | PST/PDT | 5:00 PM PDT (UTC-7) | 4:00 PM PST (UTC-8) |
| British | BST/GMT | 1:00 AM BST (UTC+1) | 12:00 AM GMT (UTC+0) |
- After the tutorial, focus on clearing the Divine Dragon Trials. This will provide a 30% EXP boost when killing Monsters.
- AFK Mode is the Idle RPG function in the game. It will generate exp for up to 12 hours of idle/offline time.
- Fill your friend list, you get Stamina from your friends, which can be used to clear the story and get more exp.
- Transmutation: After killing the butcher, you will unlock the ability to recycle all of your excess gear. You can get permanent stat increases from these recycled items.
- Guilds: at the offerings, you can contribute Gems to upgrade guild buildings and get guild currency in exchange. This can be used at the Technology building to get more permanent stat bonuses.
- At level 60, you get access to the Devil’s Crossing wave survival mini-game. The number of times per day this can be done depends on your VIP level (2, 3, or 5 attempts daily). Remember to use your EXP potions.
- If you miss a day, you can navigate to the Daily Objectives and spend Gems to get all the missed bonuses.
Classes
Once you reach level 100, you can activate Awakening and advance to the next class. Unlocking higher tiers of gear and adding more passive and active skills. There are 3 stages for each class.
Mage: The recommended class to complete the offer.
Dragons
Start with the Ice Dragon for extra damage and then later select the Life Dragon to boost your health.
Arena Fights
You can 10 attempts to fight each day and this will earn you Arena currency that can be exchanged for Stamina in the Arena Shop.
The fights are based on power level, so just target those players who are weaker than yourself. You will also receive EXP from participating in the Arena fights.
Convoys
These escort missions are easy to complete and can be rerolled to get better offers, up to 3 times per day. After rerolling, you can spend 30 Gems to raise the Convoy to Orange.
- Clearing all Convoys daily can get you a level.
- Convoys can be sped up by tapping a button. Four taps should be enough to clear it in 20 seconds.
Spending
In the Welfare tab, you can bind your account in two ways to earn 300 and 500 gems. Gems can be used to auto-complete missions later in the game.
- Buying the Mount and Wings pack is suggested.
- Under the premium section in Privileges, you can find a 30% EXP boost for $5.
- Divine Prayer: found in the Welfare tab, you can spend Diamonds to get EXP. The amount gained is proportionate to your level, so make sure to only do this at the end of the day to benefit from all your leveling. Every 10 times you do this, you will receive a 2% permanent boost to your EXP gain.
Previous Offer Terms
Patches and Updates
Patches are released on the official Facebook page for the game.
Patch Note – Mar 23, 2026
![]() New Contents:
New Contents:
1. Added SSR Mount: Fire-Kissed Throne
2. Added SSR Wings: Wings of Judgment
3. Added SSS Relics: Pulsating Sea Heart, Sun God Bird
4. Added Guardian: Little Stag (evolves into Great Stag and Sacred Stag)
5. Added Titles, Avatar Decorations/Frames/Chat Bubbles
International Women’s Day 2026
Maintenance Note Mar 04, 2026
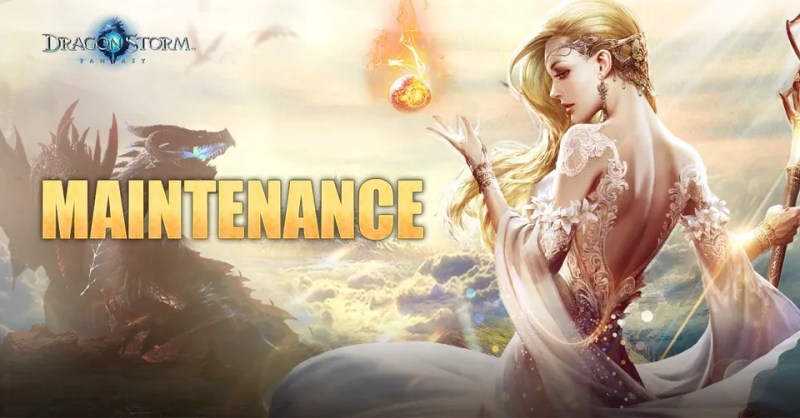
Dear Chosen Heroes ,
To accommodate the upcoming transition to Daylight Saving Time in North America and Europe, server maintenance will be conducted as follows:
[North America]
March 8, 2026 07:00 – March 8, 2026 10:00 UTC-0
Note: At 02:00 local time (UTC-6) on March 8, 2026, clocks will be set forward by 1 hour to UTC-5, marking the start of Daylight Saving Time.
[Europe]
March 29, 2026 00:00 – March 29, 2026 03:00 UTC-0
Note: At 01:00 local time (UTC+0) on March 29, 2026, clocks will be set forward by 1 hour to UTC+1, marking the start of Daylight Saving Time.
We kindly ask all players to spread the word and plan your gameplay accordingly. We apologize for any inconvenience caused during the maintenance and appreciate your understanding and support.
Server Merge Note

❗Server Merge Note❗
In order to provide a better gaming experience, we will be closing some servers for maintenance on March 4 2026, 07:00 UTC-0 ⏰. The maintenance is expected to last approximately 3 hours.
🔸Merge Scope:
EU2-1334~EU2-1406,EU2-1485~EU2-1512
NA2-1163~NA2-1206
🔸Server Merge Groups:
EU2-1361+EU2-1392
EU2-1334+EU2-1406
EU2-1488+EU2-1495
EU2-1485+EU2-1493
EU2-1497+EU2-1504+EU2-1499+EU2-1501
EU2-1502+EU2-1503+EU2-1500
EU2-1506+EU2-1510+EU2-1509+EU2-1512
EU2-1511+EU2-1508+EU2-1505+EU2-1507
NA2-1177+NA2-1179
NA2-1187+NA2-1190
NA2-1194+NA2-1193+NA2-1196
NA2-1198+NA2-1195+NA2-1197
NA2-1206+NA2-1201+NA2-1203
NA2-1200+NA2-1202+NA2-1205+NA2-1204+NA2-1199
Notice:
🔸 Other servers won’t be affected, and you can log in as usual.
🔸 For those affected servers, you will not be able to log in during this period. If your account is not bound yet, you might lose it during the update. Please bind your account as soon as possible to avoid unnecessary loss.
🔸 If there are more suggestions about merging, please let us know in the comment section or in our Discord community~
🔸 When the maintenance ends, we will send compensation via in-game mail. It might take a while as they will be sent server-wide. Remember to check your mailbox.
Best Regards,
The Dragon Storm Fantasy Team
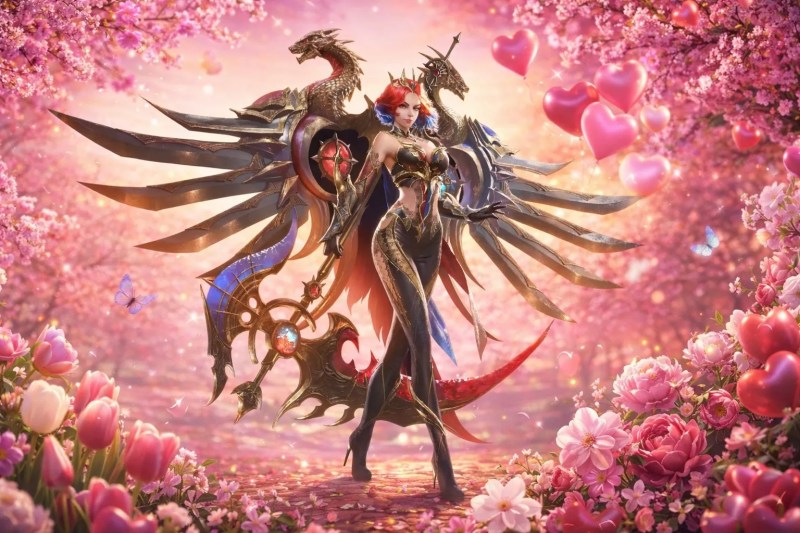
Valentine’s Day 2026 Gift Code

❤️ 𝑳𝒐𝒗𝒆 𝒊𝒔 𝒊𝒏 𝒕𝒉𝒆 𝒂𝒊𝒓… 𝒂𝒏𝒅 𝒔𝒐 𝒂𝒓𝒆 𝑫𝒓𝒂𝒈𝒐𝒏𝒔! ❤️
𝐼𝑛 ℎ𝑜𝑛𝑜𝑟 𝑜𝑓 ℎ𝑖𝑠 𝑢𝑛𝑤𝑎𝑣𝑒𝑟𝑖𝑛𝑔 𝑙𝑜𝑣𝑒 𝑓𝑜𝑟 𝐿𝑜𝑖𝑠, 𝑡ℎ𝑒 𝐸𝑙𝑣𝑖𝑠ℎ 𝐾𝑖𝑛𝑔 𝑠𝑒𝑛𝑑𝑠 𝑎 𝑔𝑖𝑓𝑡 𝑎𝑐𝑟𝑜𝑠𝑠 𝐴𝑟𝑐𝑢𝑠, 𝑎 𝑏𝑙𝑒𝑠𝑠𝑖𝑛𝑔 𝑓𝑜𝑟 𝑒𝑣𝑒𝑟𝑦 ℎ𝑒𝑟𝑜 𝑤𝑎𝑙𝑘𝑖𝑛𝑔 𝑡ℎ𝑒𝑖𝑟 𝑜𝑤𝑛 𝑝𝑎𝑡ℎ 𝑜𝑓 𝑙𝑜𝑦𝑎𝑙𝑡𝑦 𝑎𝑛𝑑 𝑑𝑒𝑠𝑡𝑖𝑛𝑦.
💝 𝐆𝐢𝐟𝐭 𝐂𝐨𝐝𝐞: 4V5DF9
𝐻𝑎𝑝𝑝𝑦 𝑉𝑎𝑙𝑒𝑛𝑡𝑖𝑛𝑒’𝑠 𝐷𝑎𝑦
- 𝐷𝑟𝑎𝑔𝑜𝑛 𝑆𝑡𝑜𝑟𝑚 𝐹𝑎𝑛𝑡𝑎𝑠𝑦 𝑇𝑒𝑎𝑚
New Years 2026 Gift Code
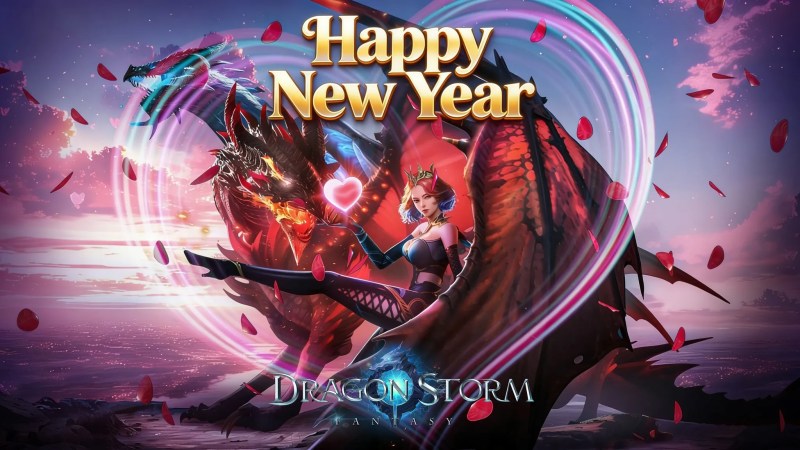
New year, new start. May all your dreams come true in 2026! 🥰
🎁𝗚𝗶𝗳𝘁 𝗖𝗼𝗱𝗲: 4uce6w
Xmas 2025 Gift Code
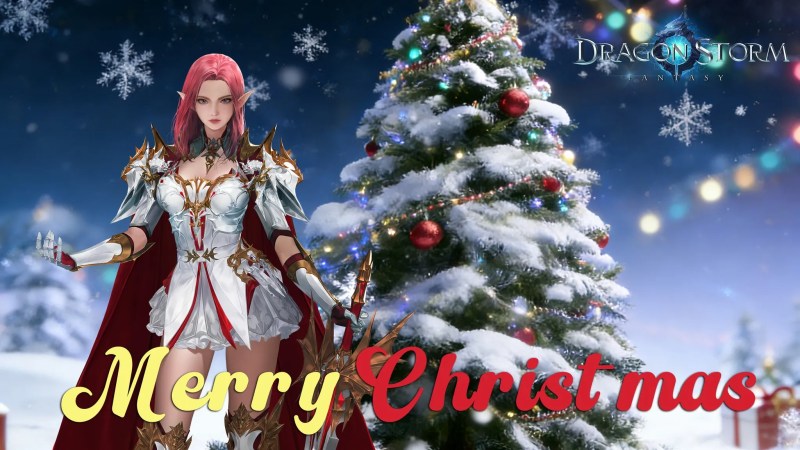
Santa’s already on his way—but we’re sneaking in first! 🎅✨
Thank you for an amazing year of unforgettable moments that you’ve shared with our community. Wishing you a joyful holiday season and endless gaming fun!
🎁 𝑮𝒊𝒇𝒕 𝑪𝒐𝒅𝒆: mr4uceen
6th Anniversary Gift Code

𝐇𝐚𝐩𝐩𝐲 𝟔𝐭𝐡 𝐀𝐧𝐧𝐢𝐯𝐞𝐫𝐬𝐚𝐫𝐲, 𝐃𝐫𝐚𝐠𝐨𝐧 𝐒𝐭𝐨𝐫𝐦 𝐅𝐚𝐧𝐭𝐚𝐬𝐲!
For six years, we have shared the peace of Sky City, met warriors from countless realms in the Dragon City of Storm, and fought side by side to bring harmony to Arcus, from the depths of Demon’s Lair to the shadows of the World Bosses. We grew together, battled together, laughed together… and became a true community.
Thank you for standing with us, for protecting Arcus, and for giving meaning to this journey. ❤️
Now, in honor of our 6th Anniversary, we invite you to help us create a Memory Album that we can look back on for years to come: https://discord.com/…/8832942171856…/1446444336547102720
🎁All participants will receive 1500 Rubies.


